Registration
When you click the registration page link, you'll be directed to a following form.
All mandatory fields are marked with an asterisk*.
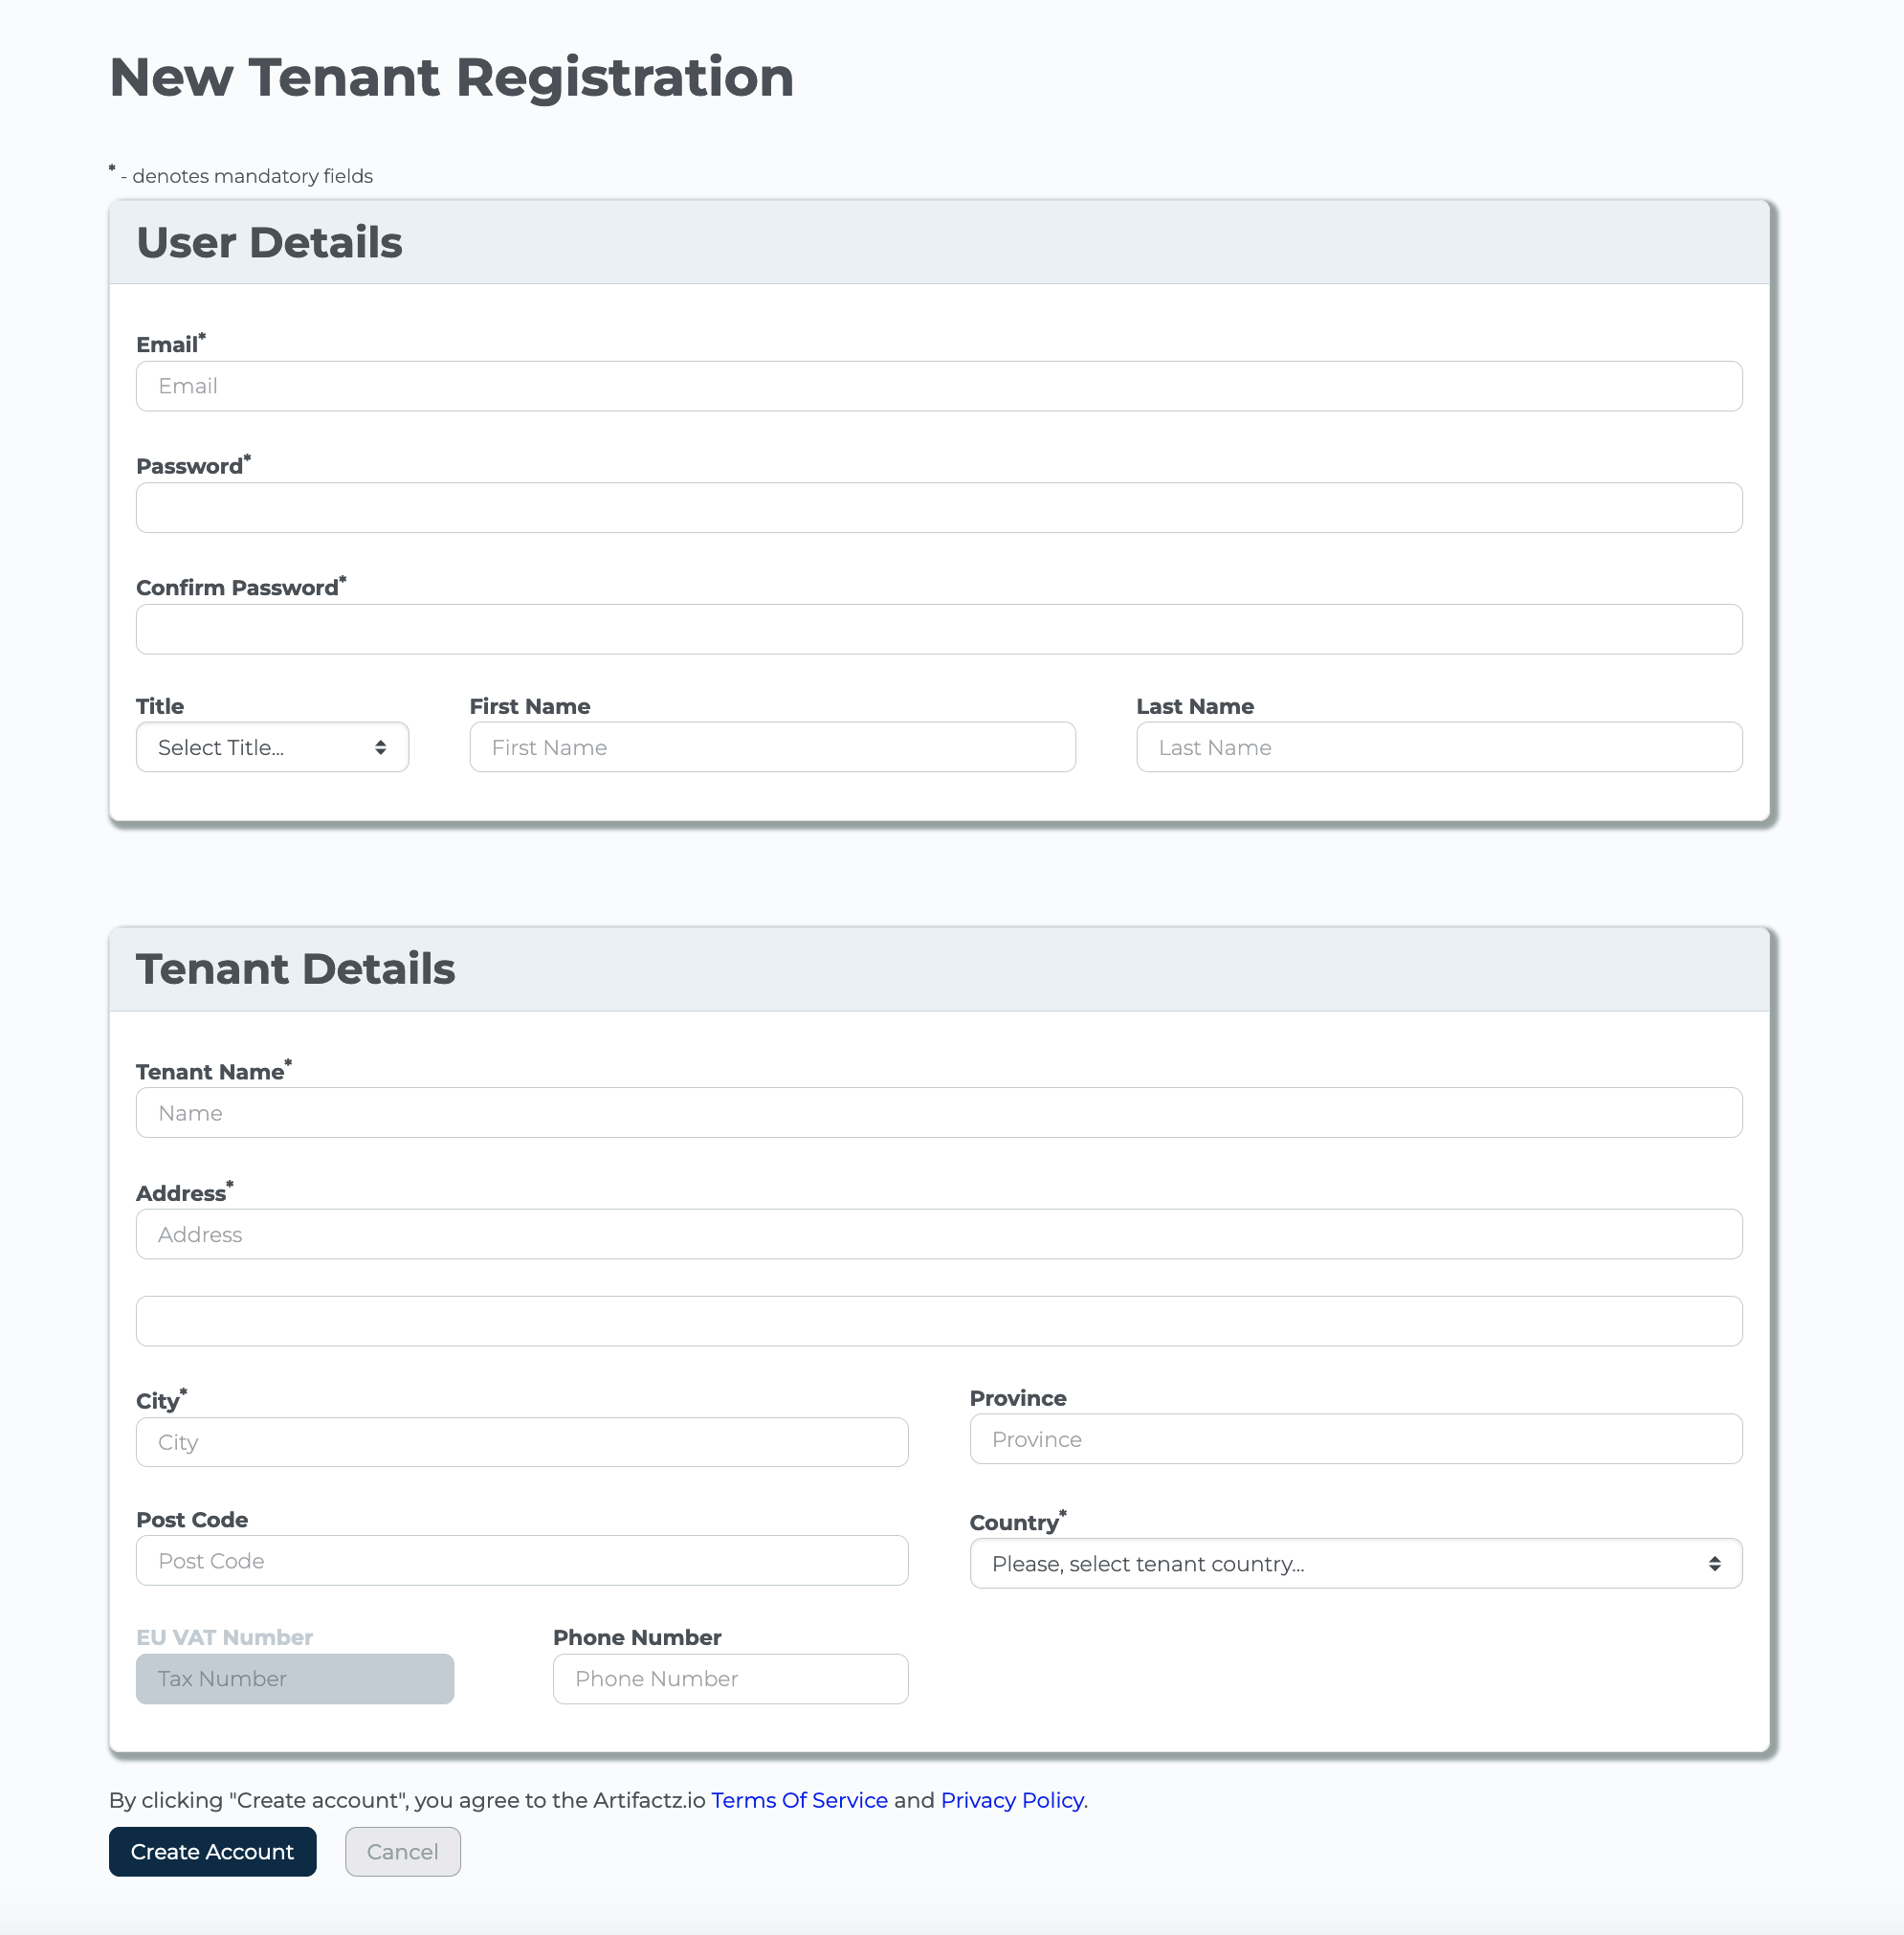
Your email is the primary contact for your artifactz.io tenant and can only be
used once in our system.
Your password must be at least 8 characters long, contain upper and lower case
letters, and either numbers or special characters.
Once your registration is complete and your email address is confirmed, you'll
be able to log in to your user dashboard.
Create Token
In order to use the Artifactz service with your CI/CD tool or build system, you need
to configure the appropriate plugin and create an API token with the required scopes.
Here are the general steps to follow:
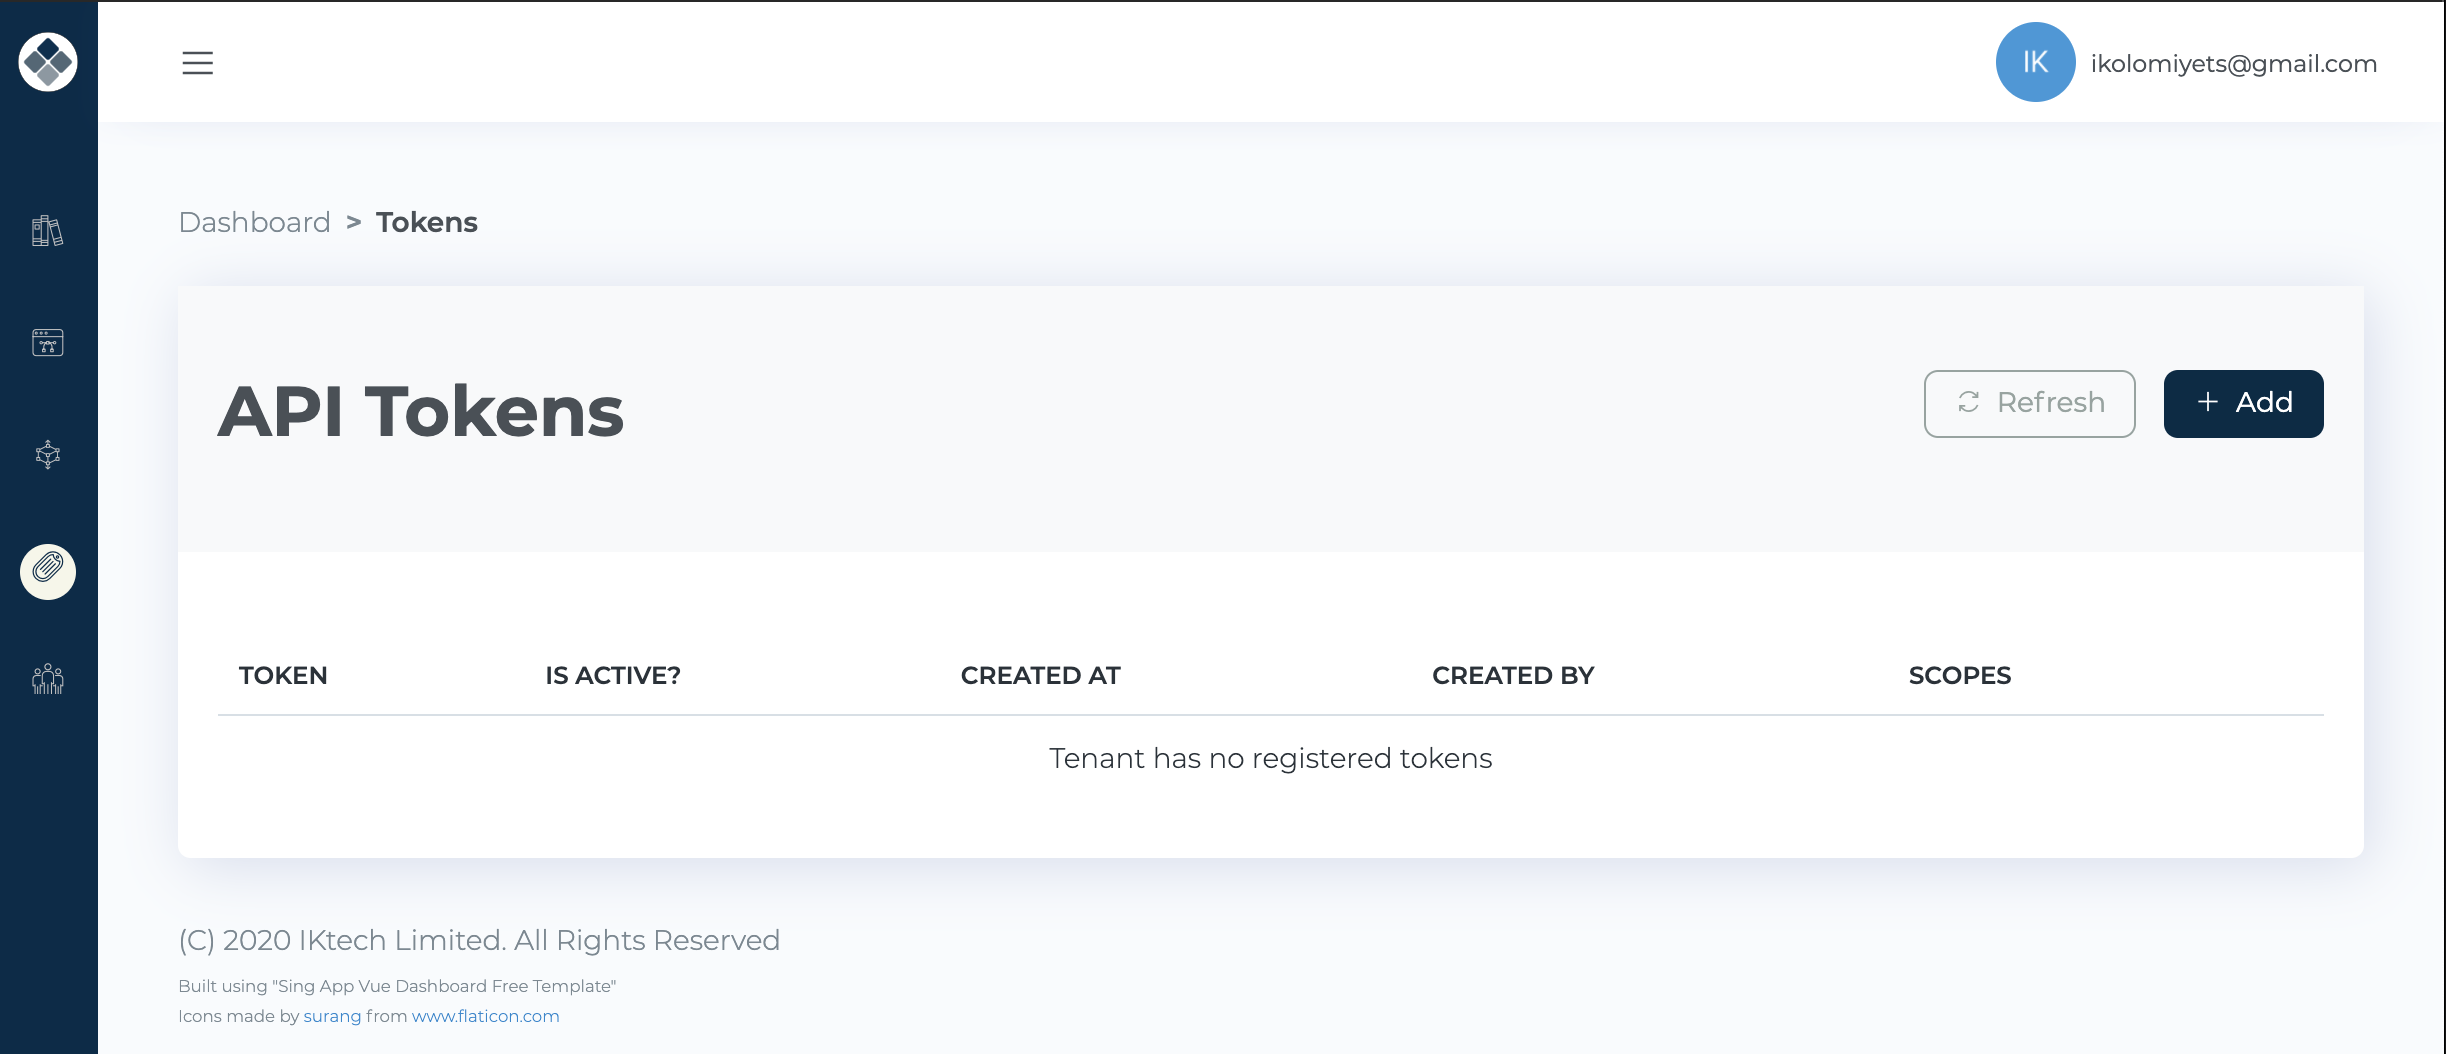
Create an API token: In the Artifactz.io platform, navigate to the "Tokens" section in the left-hand panel and click the "Add" button.
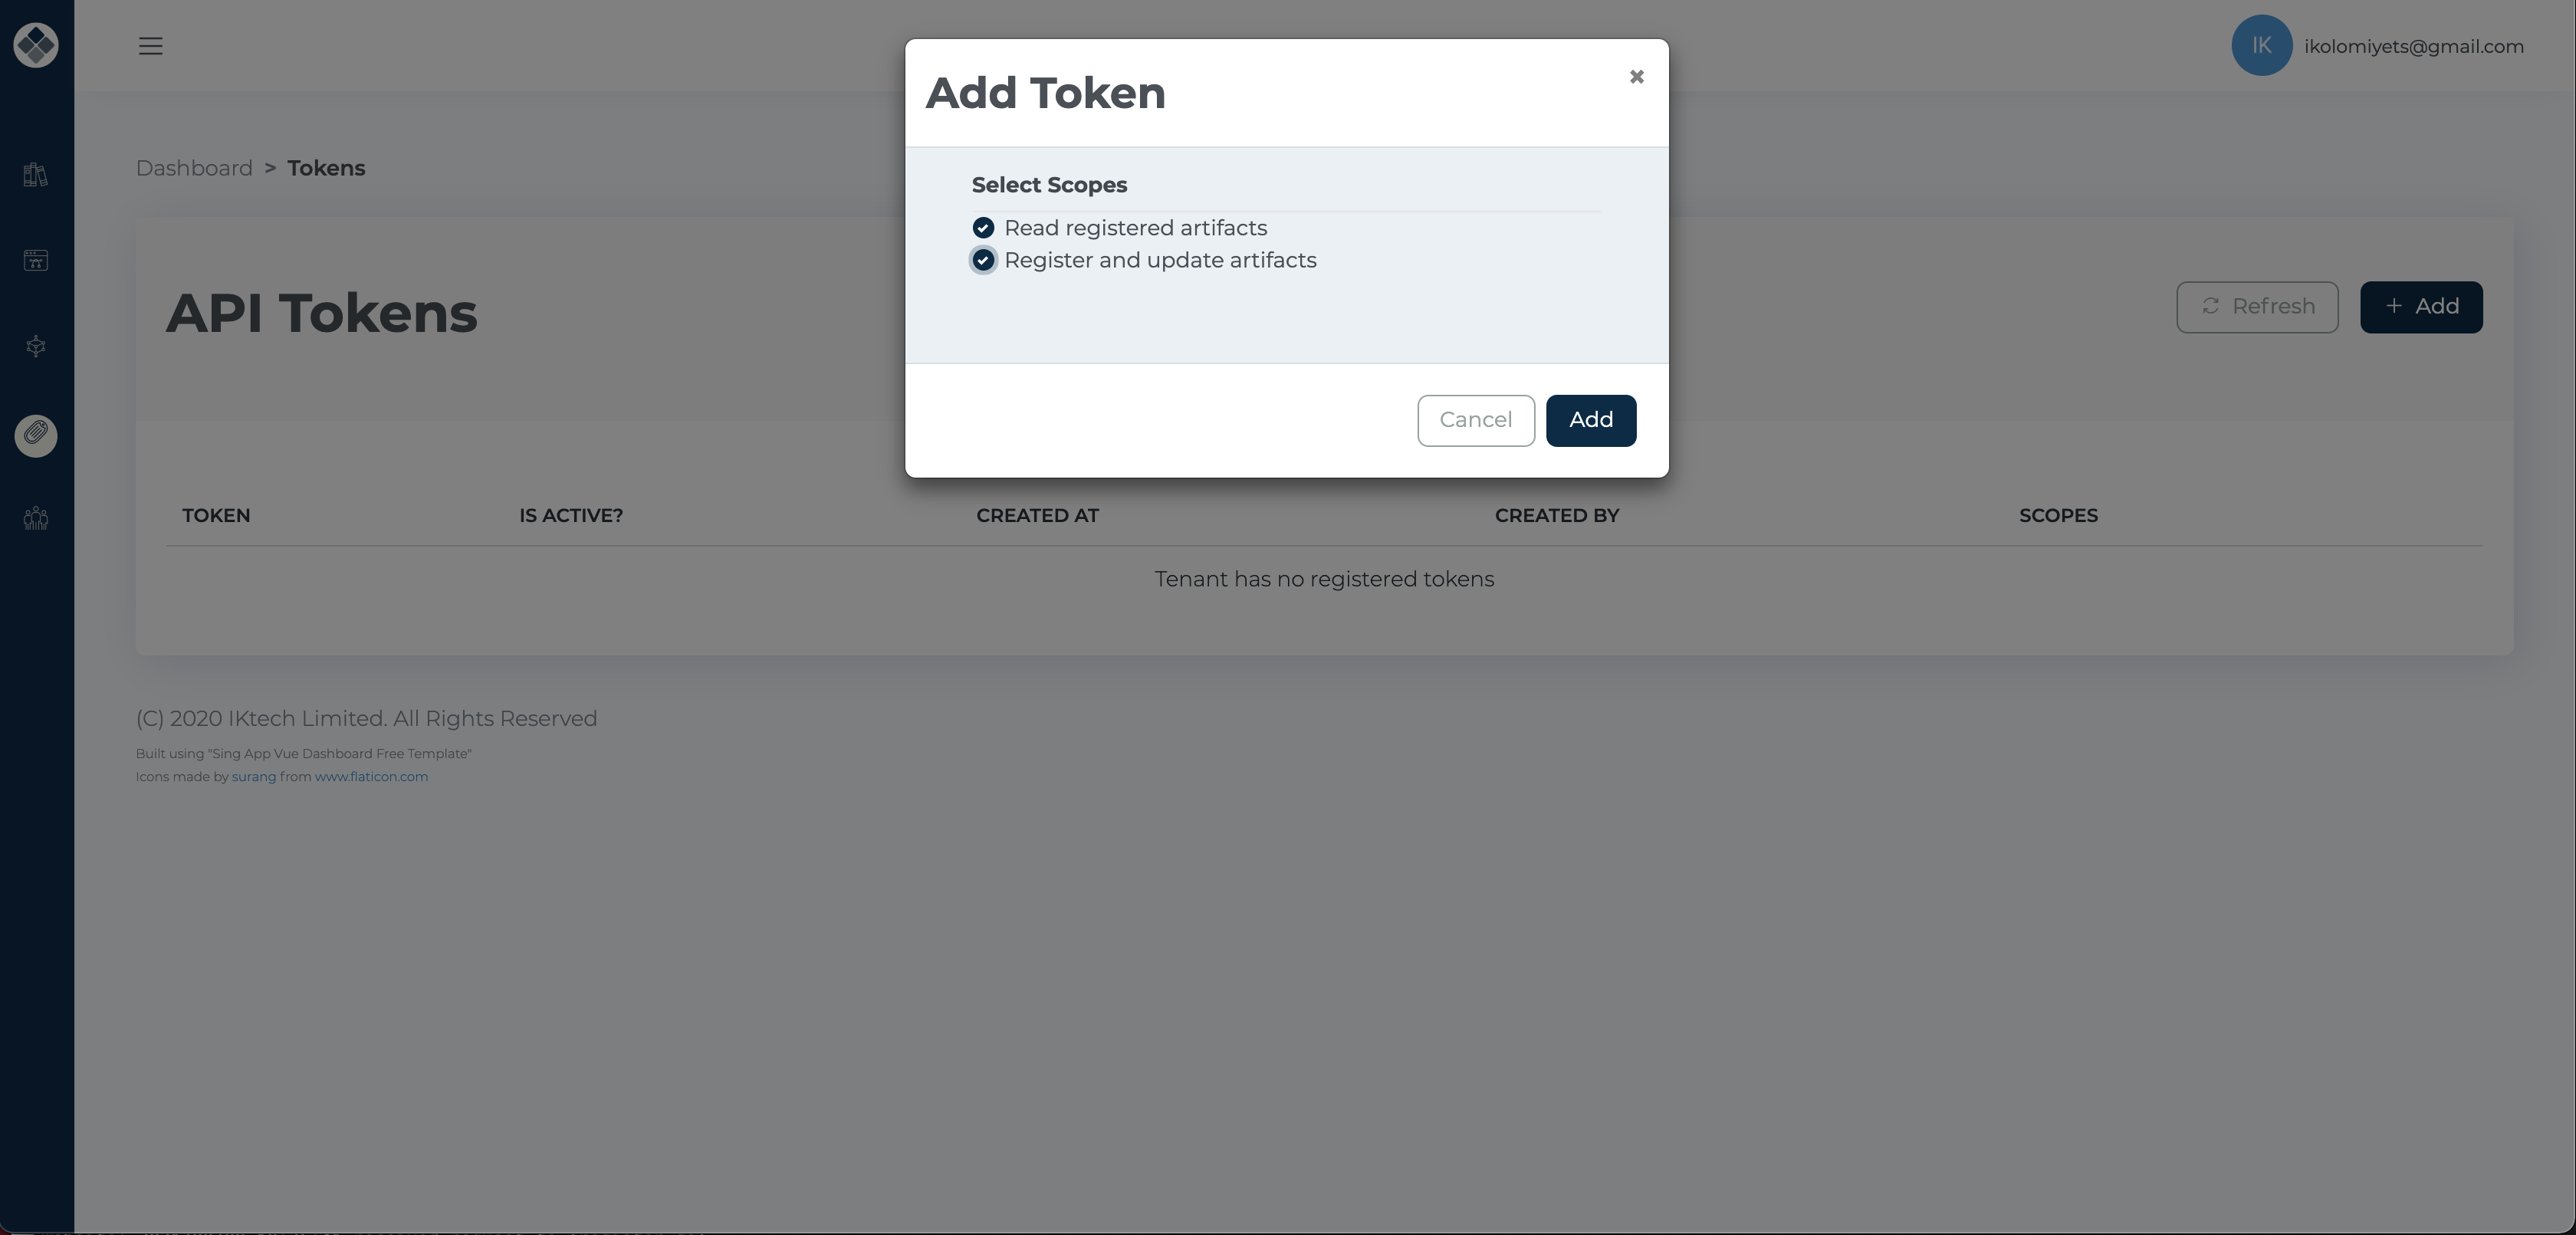
Select the required token scopes (either "urn:artifactor:write" for creating or modifying artifact records, or "urn:artifactor:read" for reading artifact version information) and click "Add".
Once the token is generated, copy it to a safe location, as you will not be able to recover it later.
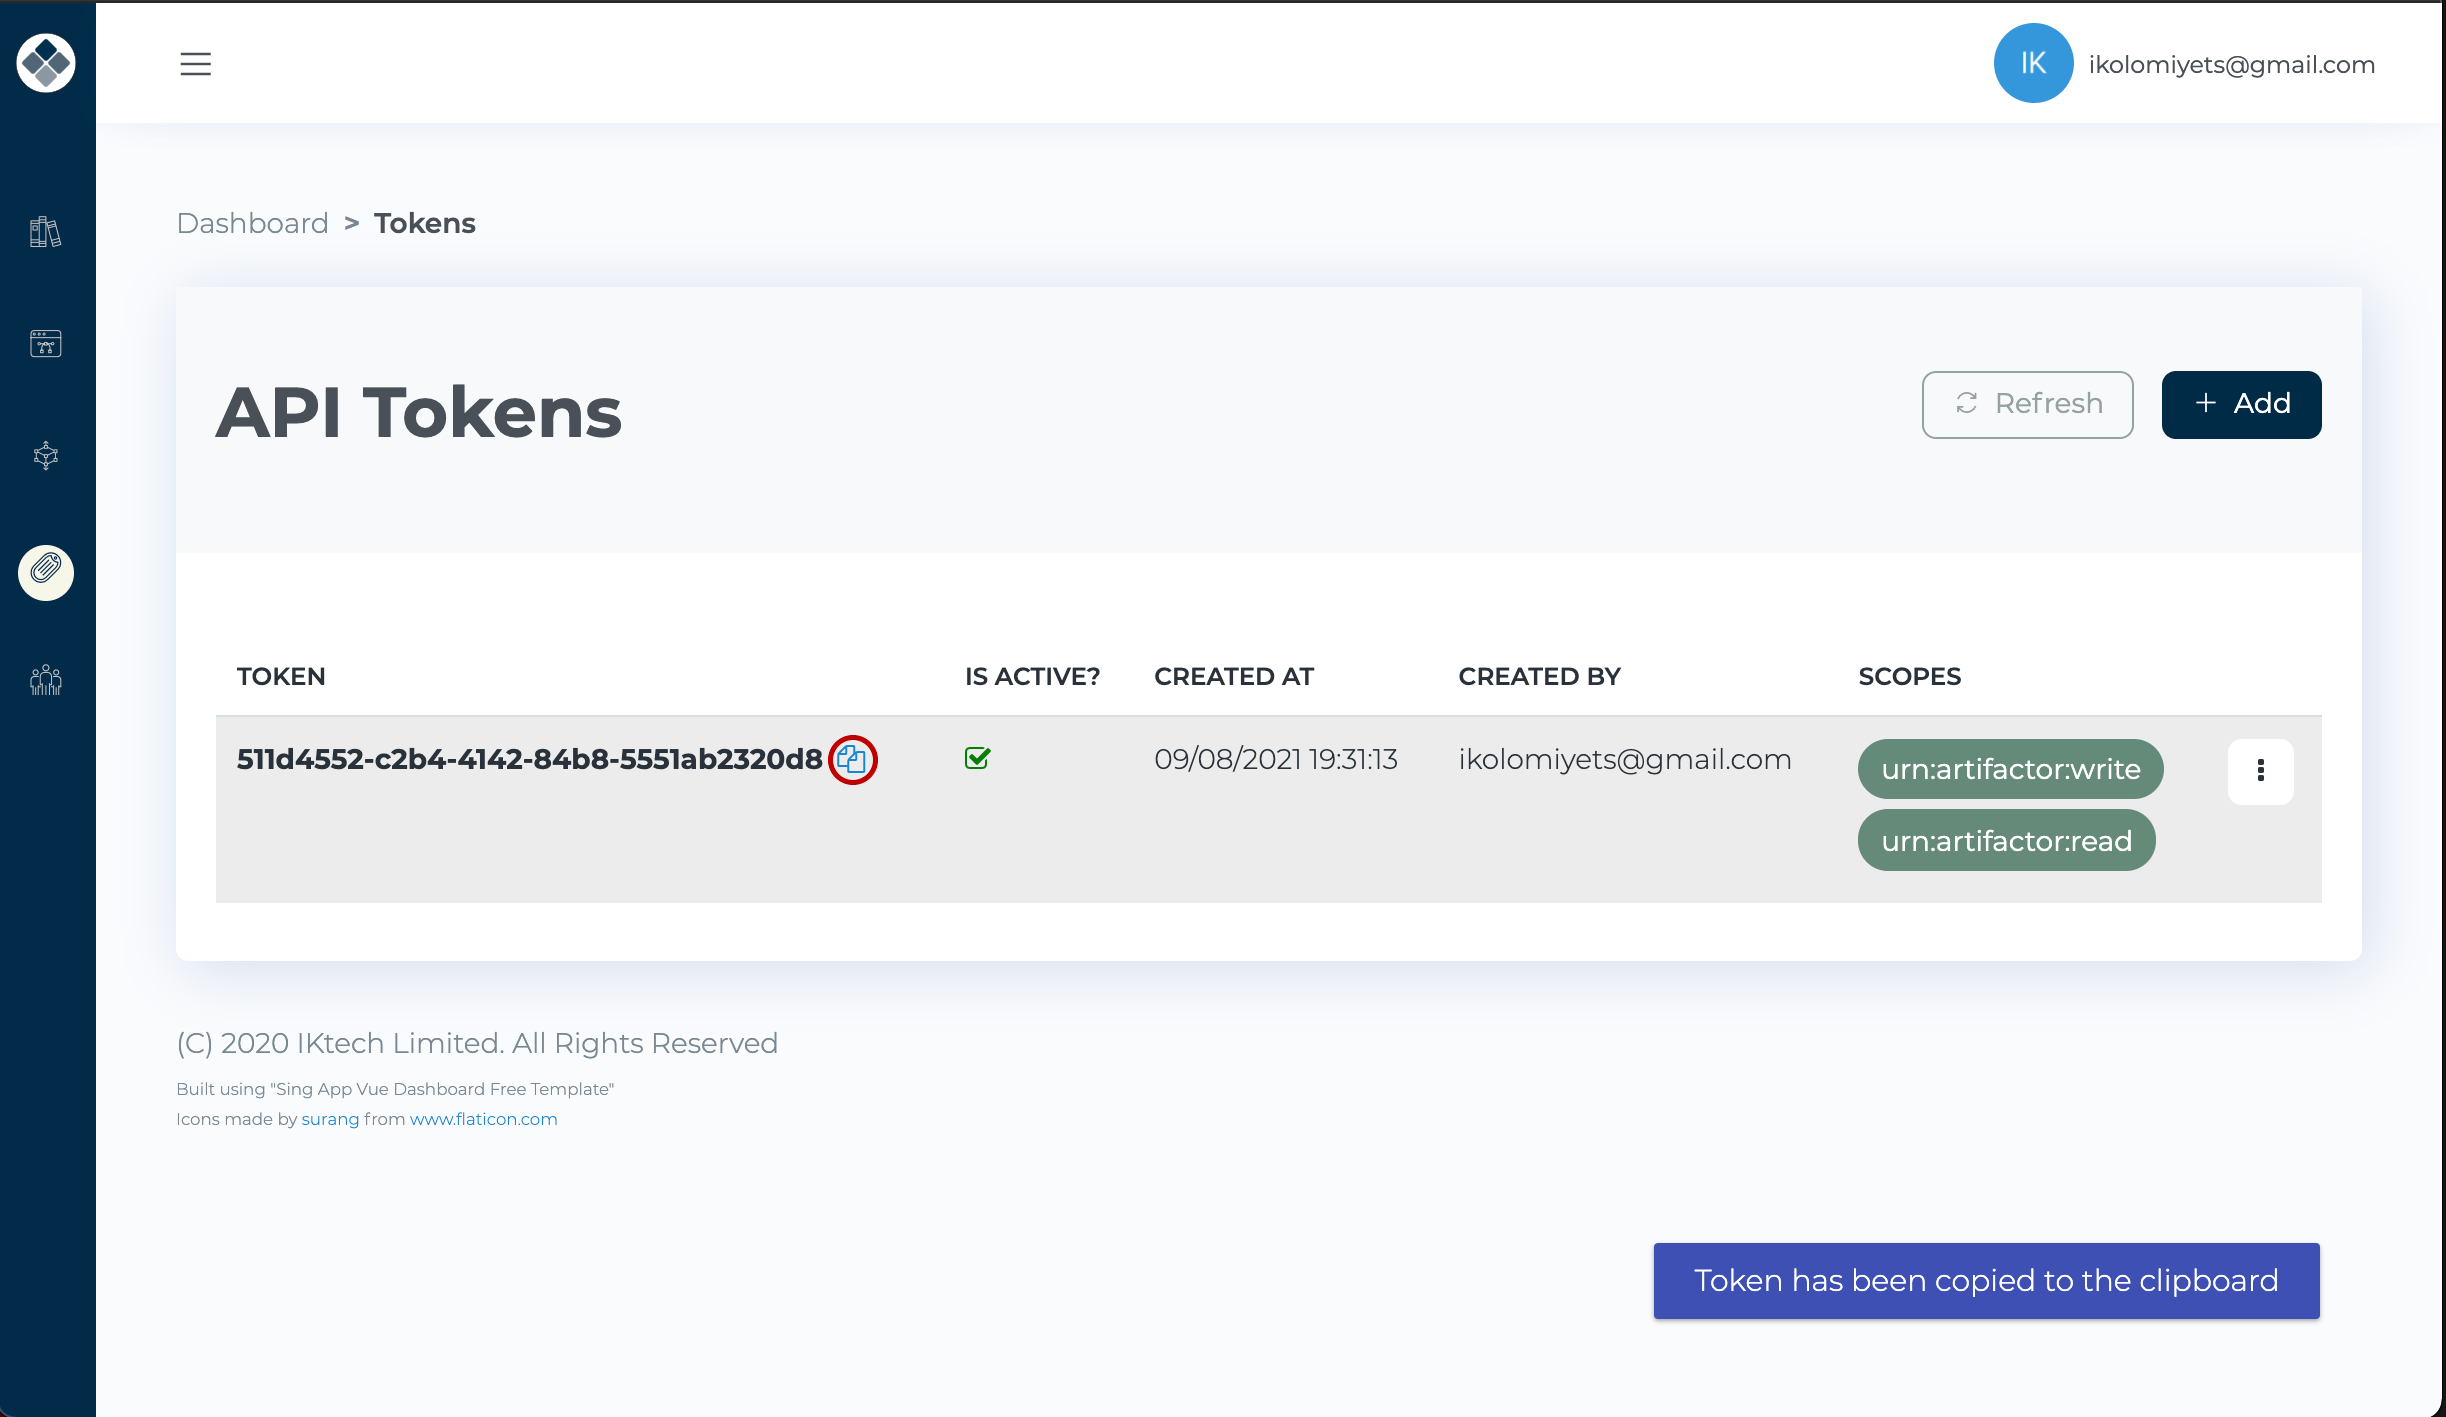
To make it easy to copy the newly generated API token, there's a copy icon located next to it, which is indicated by a red circle in the image above. To copy the token to your clipboard, simply click on this icon.
Configure Plugin
There are currently four plugins available for number of build systems and CI/CD tools:
Jenkins
Create a new Secret Text credentials item with the API token.
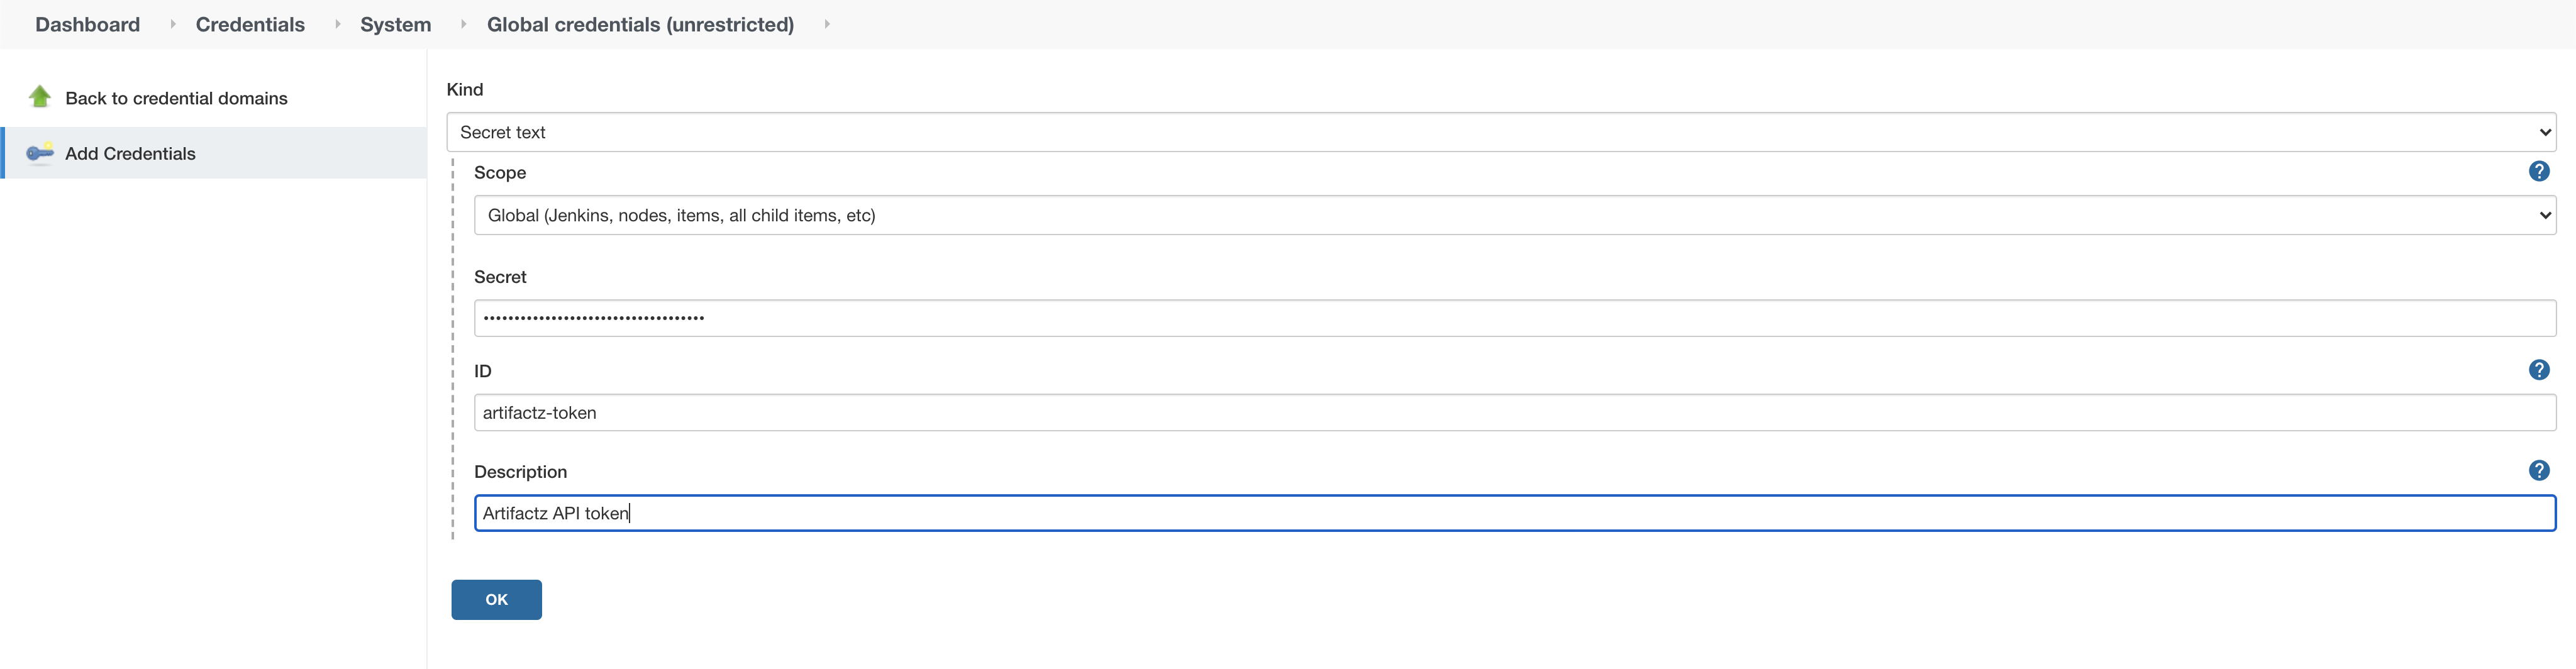
Install the Artifactz.io plugin, and select the credentials from the "Credentials" drop-down list.
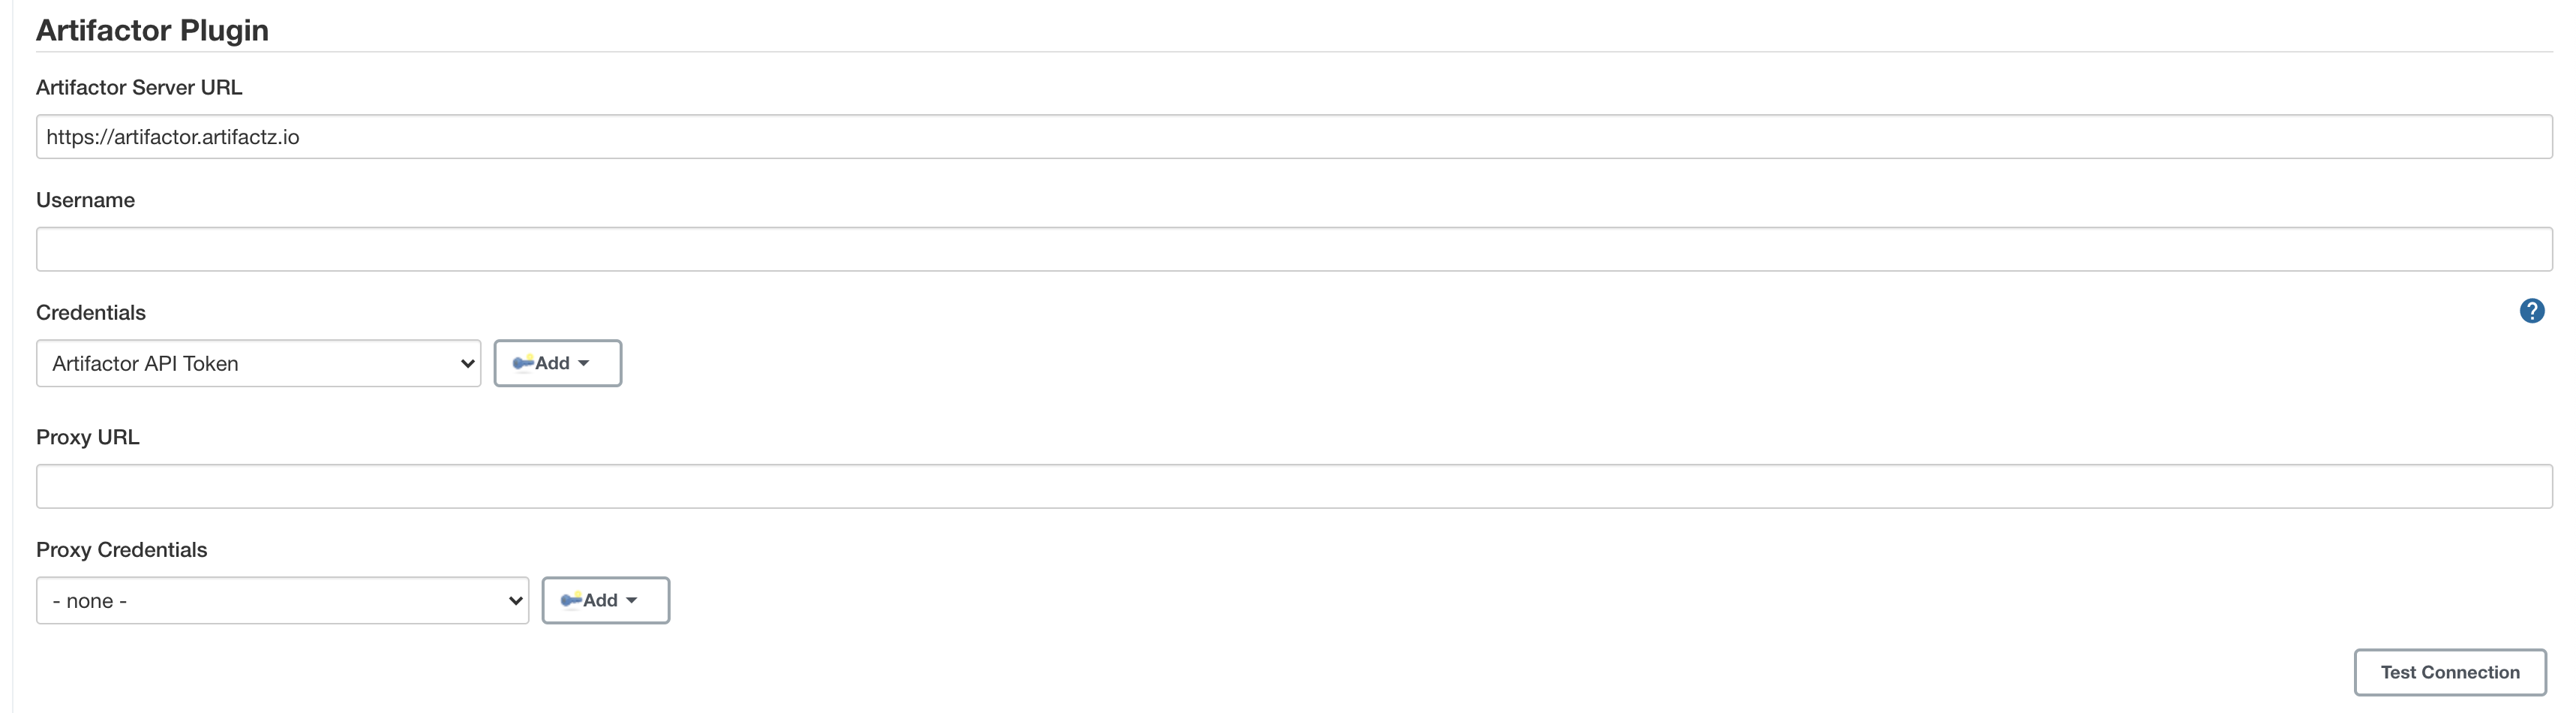
Optionally, configure proxy if direct connection to the artifactz.io is not allowed.
Github Actions
Add the "ARTIFACTZ_TOKEN" secret with the API token that has the required scope.
Use one of the available actions to manipulate artifact details or retrieve them from the pipeline.
For example to publish a new artifact you can use the following action:
 - name: Publish the version of the database image to the Artifactz.io Development stage
  uses: iktech/publish-artifact-javascript-action@v1.0.0
  with:
    apiToken: ${{ secrets.ARTIFACTZ_TOKEN }}
    stage: Development
    name: test
    type: DockerImage
    flow: Simple
    version: 1.0.0
Note that API token is taken from the secret.
To push the artifact through the flow use the following example:
 - name: Push Artifact Info
  id: push
  uses: iktech/push-artifact-javascript-action@v1.0.0
  with:
    apiToken: ${{ secrets.ARTIFACTZ_TOKEN }}
    stage: Development
    name: test
Note that push action is only available when an artifact is associated with the flow.
Azure DevOps
Install the Artifactz.io Azure DevOps Extension.
To do this, go to your Organization Settings in the Azure DevOps console and click General->Extensions in the left hand panel. There, click browse the marketplace, find the extension and click "Get it free".
Once extension is installed, define a variable in the project's Variable Group with the API Token. Let's say that the Variable Group has name "default" and a variable in it named "artifactz.api_token".
Then, you can use it when configuring one of the Artifactz.io tasks.
First, link your pipeline with the Variable Group by adding the following to the pipeline YAML file:
variables:
 - group: default
This will link variables from the Variable Group "default" with the pipeline.
For example, to publish the artifact from the pipeline, you can use the following task:
 - task: publish-artifact@1
  inputs:
    apiToken: $(artifactz.api_token)
    stage: 'Development'
    flow: 'Test'
    name: 'test-data'
    type: 'JAR'
    groupId: 'io.iktech.test'
    artifactId: 'test-data'
    version: '1.0.1'
Or to push artifact, you can use the following task:
 - task: push-artifact@1
  name: pushArtifact
  inputs:
    apiToken: $(artifactz.api_token)
    stage: 'Development'
    name: 'test-data'
Gradle
Define the required variables (e.g., artifactz.apiToken and artifactz.stage) as described in the documentation.
As a minimum, two variables are required
artifactz.apiToken and artifactz.stage.
It is advisable to set the
artifactz.apiToken in the global gradle.properties file. However, the artifactz.stage could be set in global as well as project gradle.properties.
Include the plugin by adding the following to the
plugins block of the build.gradle file:
plugins {
//  ...
    id 'io.iktech.artifactz' version '1.0.0'
//  ...
}
If you want to resolve the version of the dependent library using artifactz.io just leave their versions empty in the
build.gradle file:
dependencies {
    implementation 'org.apache.logging.log4j:log4j-core'
    implementation 'org.apache.logging.log4j:log4j-api'
    testImplementation 'org.junit.jupiter:junit-jupiter-api:5.6.0'
    testImplementation 'org.mockito:mockito-junit-jupiter:3.7.7'
    testImplementation 'org.mockito:mockito-core:3.7.7'
    testRuntimeOnly 'org.junit.jupiter:junit-jupiter-engine'
}
The plugin also provides two additional tasks
publishArtifact and pushArtifact that allow user to manage artifact versions from the Gradle build. Check
plugin documentation for more details.